Somewhat different to the previous posts on this blog, this week we’ll be touching on my first aesthetic mod in a while. Back in my HvZ@ANU days we had very strict power restrictions, so we were forced to differentiate our blasters through aesthetic mods. Every blaster I used then was painted in some form or another. Since then however, the group I’ve been playing with recently has far more relaxed power restrictions, so I’ve been focusing far more on practical things. That won’t stop us though!
This walk through will cover the specifics involved with a Nerf Raider, but the general painting techniques can be applied to any blaster. Just take very special care in the disassembly stage to ensure that you’ll know how to put it back together.
I find it’s often best to stick to 2-3 colours and work with the existing lines of the blaster, but I’m not going to tell you how to choose aesthetic points.
__________________________________________________________________
Tools and materials needed
Screwdriver
Sponge + soapy water
Spray primer
Variety of spray paint colours
Scissors
Masking tape
__________________________________________________________________
As always, we’ll kick off the blaster itself.
Remove the screws in the priming handle, then the handle itself, then the screws in the rest of the shell.
As always, take a moment to familiarise yourself with the internals.
No seriously, there is going to be a decent amount of time between disassembly and reassembly. Know where things need to go and how they should work BEFORE you pull it apart any further.
Ok, satisfied that you know how it works? Lets move on.
Start by removing these two bars that hold the plunger in place.
Then you’ll be able remove the plunger, the tube and the priming bar. They should all just pop out once you’ve removed the four screws and the two securing bars.
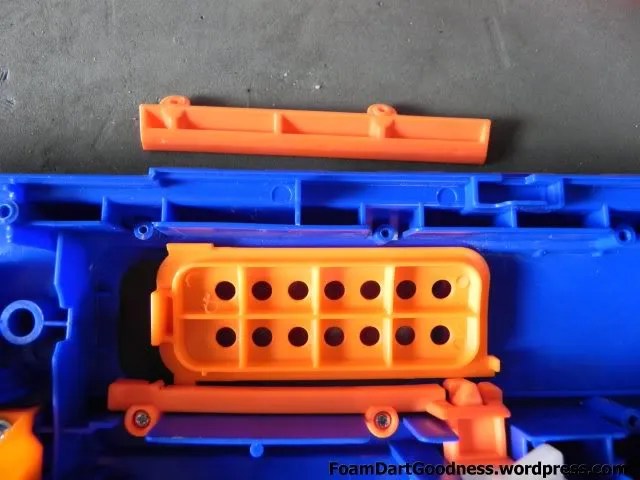
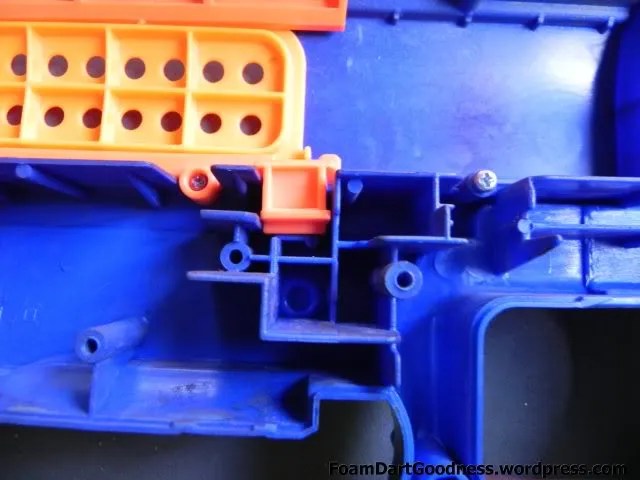
We then have a similar process with the jam door. Remove the two bars that hold it in place and the door itself will come out.
Then go through and remove everything you can. Grab some masking tape and secure anything that moves or could come apart. Last thing you want is for the whole blaster not to work because you lost a seemingly insignificant spring.
Now put all the pieces we’ve removed in a zip lock bag.
You should now have a completely stripped shell.
Grab your masking tape and cover up any part you want to retain their stock colouring. Really take your time here because if you miss a bit it will take far longer to fix it up later than it would have to mask properly.
Repeat on the other half of the shell.
Hit it with a first coat of primer.
The tech with spray painting is to do long, consistent strokes. Start spraying on one side of the blaster and continue in a straight line all the way across the blaster until you’re past it. Always run with these strokes and never spray directly on to one specific spot. Many light coats will achieve a far better coverage than one heavy one.
Ensure that you completely cover everything you intend to cover.
Now move on to colour. Again we’re aiming for long, consistent strokes.
It should take a couple of coats to get a decent coverage. Allow sufficient time for each coat to dry and keep going until you’re happy basically.
In this case I was going for a two tone effect so the following day I went back and remasked different parts of the blaster.
Which then let me hit it with the second colour.
Again, a few coats were needed.
Once you’re happy with the coverage and have allowed suitable time to dry we can peel the tap off and get the first look at your masterpiece.
Mmmm, sexy.
Lets now start putting it back together. Again, I’m obviously going to cover off the specifics involved in reassembling a raider so if you’re doing a different blaster these last steps might not be so useful to you.
Grab your zip lock bag of parts and empty them out.
Wow there are a lot of pieces.
Grab the jam door and slot it into place.
Then grab these two parts.
Top one goes here. Two screws hold it in place.
Then the bottom piece.
Next we’ll do the tac rail attachments.
They slot in along the top of the blaster here.
Like so.
Grab this piece.
Place it here.
Like so.
Now for the dart tooth assembly.
It needs to go here.
Start with the front of the breech.
Then the dart tooth itself.
Then the part that holds it in place.
Next we have the barrel.
Funnily enough, it lives at the front of the blaster.
Place the barrel tube first.
Turn it this way up.
Then slot it in to place.
Like so.
Ok, so this next part wasn’t strictly necessary but the blaster was apart, I couldn’t not to a quick AR and seal improvement.
Check my previous post on modifying a Nerf Raider for the specifics but I’ll quickly go over it now anyway. Remove the o-ring and apply some teflon tape.
Put the o-ring back on and grease it up.
Tape up the release hole here.
Like so.
All right, lets get back in to the reassembly.
Place the breech assembly back in the blaster.
Move to the back.
Slide the plunger back over the plunger tube.
Now grab the two bars that hold the plunger in place. They go back in place in this order.
Top one first. Two screws hold it in place.
Then the bottom. Again, two screws.
Then well replace the catch.
It lives here.
Like so.
Then move to this blank spot just below the plunger rails.
And we’ll replace this locking/catch release bar like so.
Then the trigger.
Finally, this little dart holder in the handle.
Done! Mostly…
Put the other half of the shell on, replace the great assortment of screws and we’re basically there. You’ll obviously need to replace the priming handle and the back plunger cover. I forgot to take photos of that but I’m sure you can figure those ones out on your own.
All right, all done. One painted and now improved Raider. Forgot to take final photos before so here’s a quick one on the lounge room floor.


